
Step 1---Arranging the pattern pieces
Using the patterns for the dress's front, back, and sleeves, cut and arrange your pattern pieces.
You can see how to draft the front here.
Dress back draft is shown here.
Sleeve draft is discussed here.
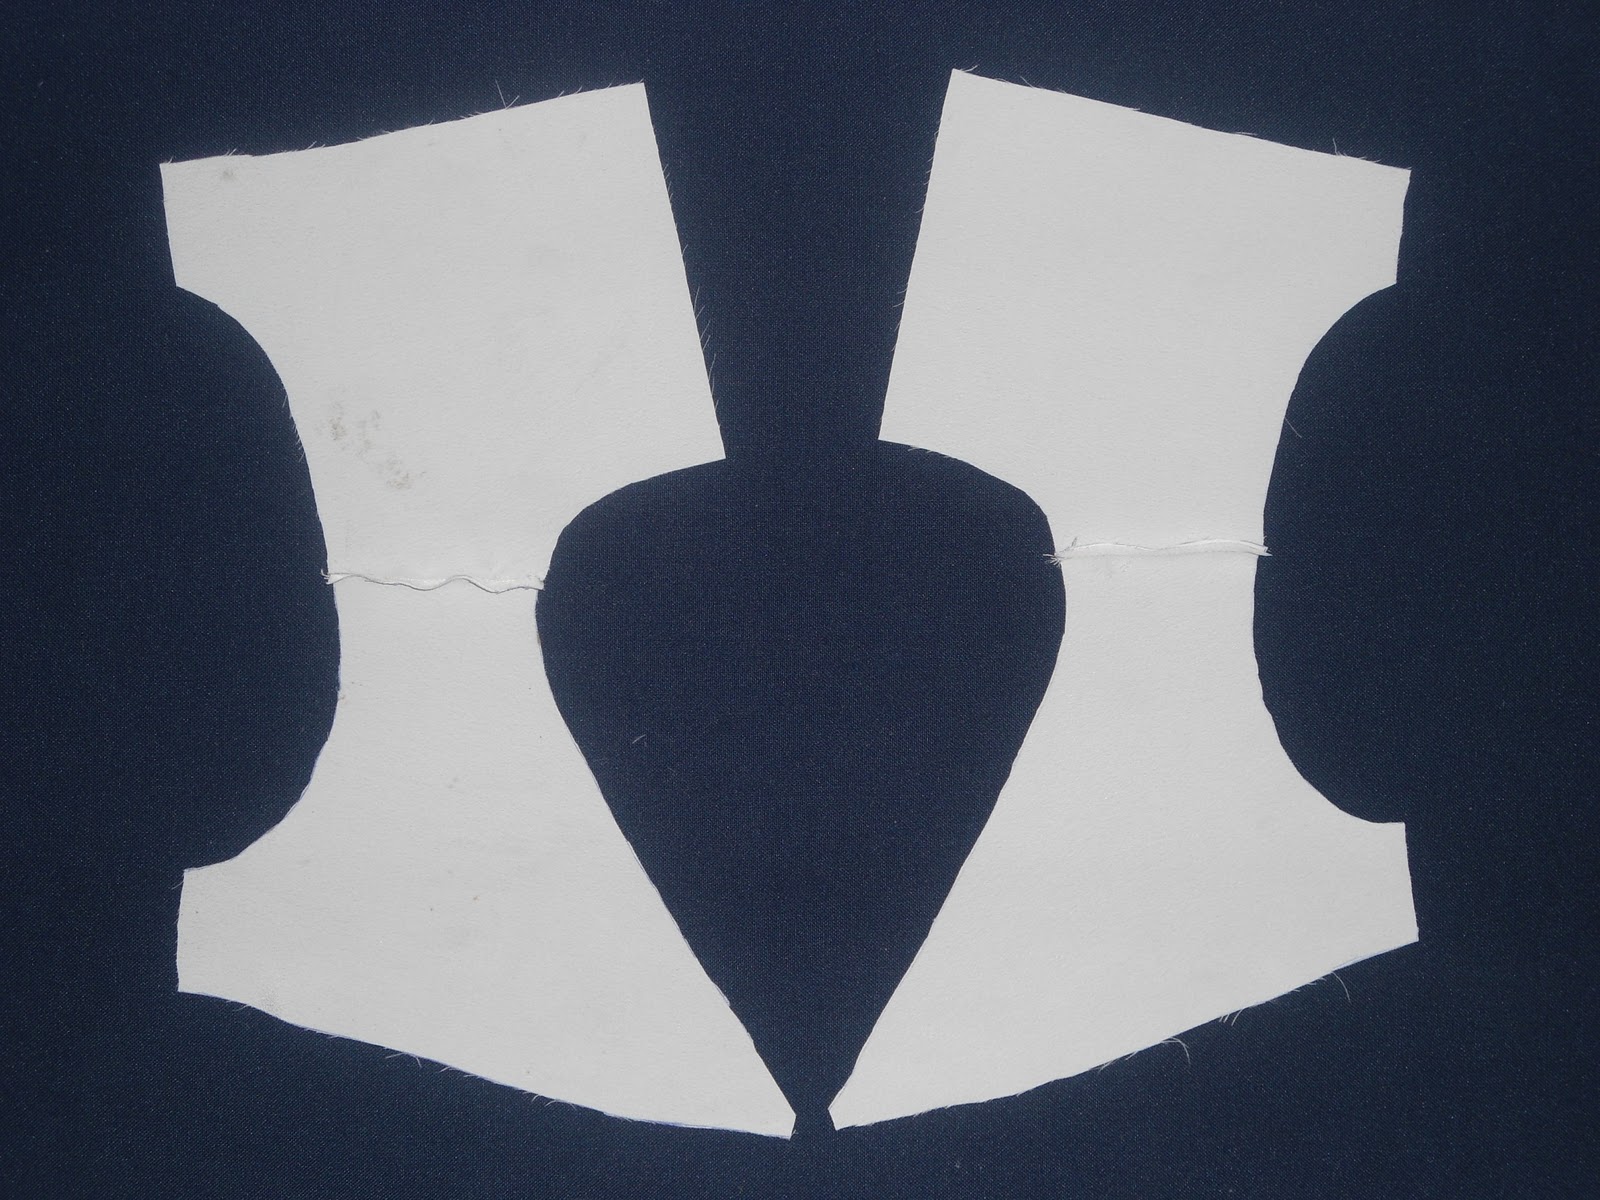
Front bodice:
Two main fabric pieces and two lining fabric pieces.

Back bodice:
Two main fabric pieces, two lining fabric pieces. (The button and buttonhole extensions in the below image are of same size which I changed later. You can note the difference in the dimensions in image next to the image below.)

Button and buttonhole extensions. I kept the button extension wider than the buttonhole extension. The buttonhole extension will overlap the button extension.

Front skirt:


Sleeve bands:

For bow and bow ribbons, cut two pieces of fabric. Bow center is made with a single piece of fabric.


With right sides facing, join the front and back bodice lining fabric pieces at the shoulders. For clarity, I have labeled the joined lining fabric pieces as A and B.

Next, with right sides facing, join the front and back bodice main fabric pieces at the shoulders. For clarity, I have labeled the joined main fabric pieces as C and D.

With right sides facing, pin together (only at the neckline) each set of lining fabric and main fabric bodice pieces (that is, A with C and B with D). In the image below, the lining fabric piece is on top and the main fabric piece is underneath.

Join the main fabric and lining fabric pieces together at the neckline, removing the pins as you join.


Turn the pieces inside out and press.

(Please excuse me for the brown stain you see on the bodice piece on the right side. It was made by my little artist. I should have been careful to keep the dress out of her reach. A lesson learned!)
Attaching the button and buttonhole extensions to the back bodice pieces:
We are going to attach the button extension to the left-side piece of the back bodice, and the buttonhole extension to the right-side piece of the back bodice. (You can also do this step before joining the lining and main bodice pieces.)
First we will attach the button extension. Pin the button extension with the lining side of the back bodice left piece at the center back. Also pin the main and lining fabric pieces at the waist seam and side seam (pointed by the arrows in the photo) to prevent the two pieces slipping away from each other.

Sew the button extension in place with a 0.25 seam allowance. You can notice in the image below that the button extension's length (according to the draft) is more than the center back length. We will trim this excess off in the next step.

You can trim off the excess at the top according to the shape of the neckline not straight as shown here. I trimmed it later.

This will look like this on the main side.


Sew the edge of the fold in place. Your button extension will now extend 1 inch from the center back of the left piece. (You can also attach the button extension to the main side and fold it down the lining side.)

Now, we will attach the buttonhole extension to the center back of the right back piece.


We have finished the back bodice. This is the finished look.


Next, we will attach the sleeves.
Sew long stitches (basting stitches) 0.25 inch up from the hemline of the sleeve by setting the stitch length to the longest in your sewing machine (It is 4 in my machine). Leave 3 inches of thread on both sides.


To even out the sleeve cap ease, or to set the sleeve into the armhole, sew two rows of long stitches close to the edge of the sleeve cap between the front and back notches and even out the fabric at the sleeve cap by lightly pulling the loose threads on both sides. Make sure you don't create gathers. The extra fabric should be eased into the cap evenly.


Step 3---Sewing darts in the skirts
Sew the darts in the front and back skirts.


Before this step, pin the back bodice pieces at the bottom such that the buttonhole extension overlaps the button extension.


Join the sides and hem the bottom of the dress. Your dress is almost done.

Step 6---Attaching the bow and ribbons
Now, you will need to attach the bow and ribbons. If you like the plain look of the dress, you can skip out this step.
With right sides facing, join the two bow pieces with a 0.25 inch seam on all the sides leaving a little opening at the top to turn the bow inside out. I have indicated the opening in the image below.

With right sides facing join the two ribbon pieces with a 0.25 inch seam on all the sides leaving a little opening at the top to turn the bow inside out. I have indicated the opening in the image below.

Take the rectangular piece for the bow center. Make 0.25 inch folds breadthwise.


Fold again and whip stitch to join the edges.


Some action shots:


I hope you enjoyed this tutorial. Please let me know your valuable comments, ideas, and suggestions.
I have linked this to the Sunday show off link party on Twigg Studios, the Sew Tuesday link party on Creative Itch, and the link party on Shwin&Shwin.
You can find lots of free PDF printable sewing patterns on this page on my blog. You can download and use them to create your own clothes.
You can also click the Free Sewing Patterns Page at the top of this blog page (under the blog title) to find more free sewing patterns.
Click the below links to browse through all the pattern drafting and sewing tutorials on my blog.
4 comments:
Flora I think you have done a wonderful job of explaining the drafting and making of the patterns. Looking forward to see more of your creations.
Hi Happygirl,
Thanks for stopping by and leaving a comment.
yes well explained tutorials!if possible,try to put 'piping for blouse' tutorial ie cutting the bias strips and attaching to blouse neck along with ladies blouse pattern,it would be helpful to many like me..i have yet to improve that tecnique..thank you..
How To Sew An Empire Waist Dress With Overlapping Front Bodice. Step 1---Arranging the pattern pieces. Using the patterns for the dress's ... empirewaistdress.blogspot.com
Post a Comment